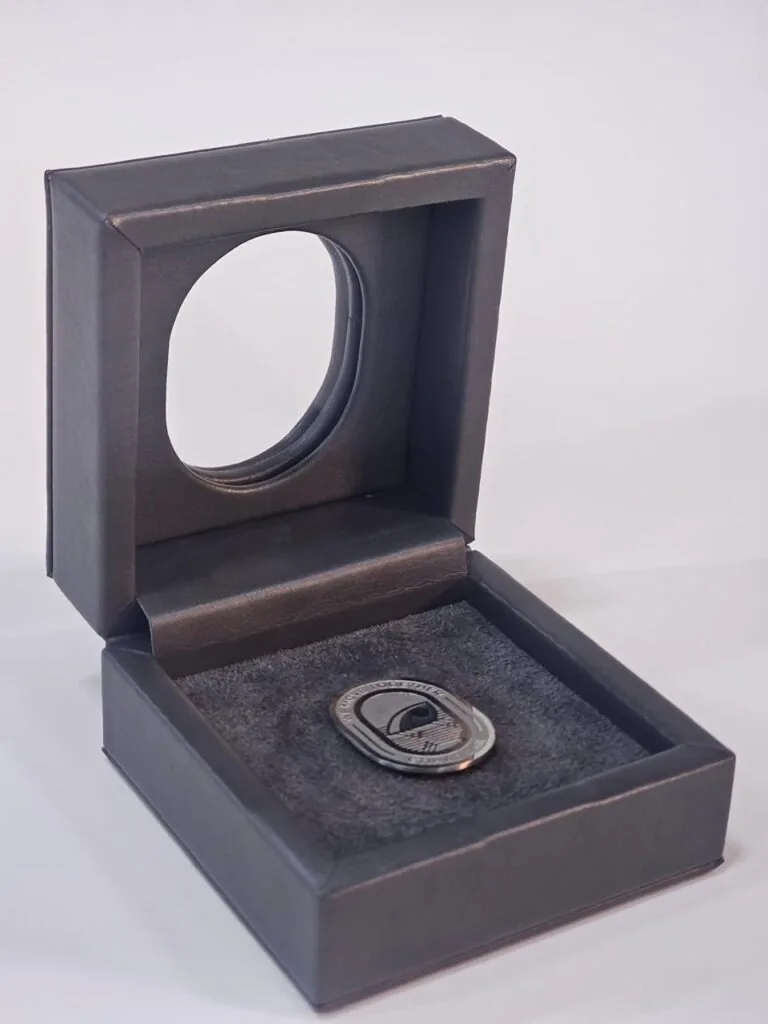

A welcome kit works best when it is designed around the list of items you have actually chosen, not around a box size you liked the look of. Start from the contents and the compartments follow almost by themselves. Working the other way round usually leaves you with void, movement and a kit that arrives looking untidy.

A rigid gift box with fitted compartments holding a notebook, a flask and a cable snugly in place.
Start with the list, not the box
Write down every item with its dimensions, its weight and whether it is fragile, spillable or simply awkward to hold. A notebook, a flask, a charging cable and a pair of earbuds take up very different amounts of room, and the tallest item quietly sets the height of the whole box. The list has to be real before the structure can be.
Once the list is settled, group the pieces that belong together and separate the ones that should not touch. That grouping is what turns a box full of things into something that looks considered when the lid comes off. It also tells you where you need dividers and where a single open cavity is honest about what it is doing.
Design the compartments from the contents out
Each item gets a cell sized to hold it with just enough clearance for a finger to lift it out. Too tight and the insert tears or scuffs on unboxing; too loose and everything shifts in transit. We cut the insert tray to the product first, then check the layout as a whole so the grid still reads cleanly.
- Cell width and depth measured from the actual item, not from a catalogue image.
- A finger lift or notch so pieces come out without tipping the whole box.
- Padding around anything glass, glazed or polished that marks easily.
- A dedicated slot for the one item that must not move, such as a cable or a card.
Order matters as much as fit. Most people read a box from the top left, so the hero piece belongs there and the supporting items fill in around it. Leaving a small flat area for a card or a note also gives the opening moment somewhere to begin.
Give the kit a load path
A full welcome kit gets picked up, carried to a car and lifted out of a bag by its base. Building that base from a single piece, or supporting it properly, matters more than the finish on the lid, which should carry its own weight rather than resting on whatever is underneath. This is structural work, not decoration.
If the kit is heavy, we look at a stiffer board, a reinforced base or a two-piece structure so the load spreads instead of concentrating at one crease. This is also the moment to decide whether the box will be reused as storage afterwards, because that changes how the closure behaves from the second opening onwards.
Check it before you commit
Build a sample with the real items in it. Pack it, close it, turn it over and carry it across a room. The voids you notice in the first minute are the ones a new joiner notices too, and they are far cheaper to correct in a sample than after a run has been produced.
A welcome kit built around a real gift list uses less material, protects better and opens looking deliberate. Design from the contents outwards and the structure tends to solve itself, leaving you to spend your attention on what goes inside.
The Bottom Line
Confirm every choice on a physical sample before the run starts. Tell us what you are packing, how many you need and when you need it, and our team will come back with structure options, materials and pricing within a business day.