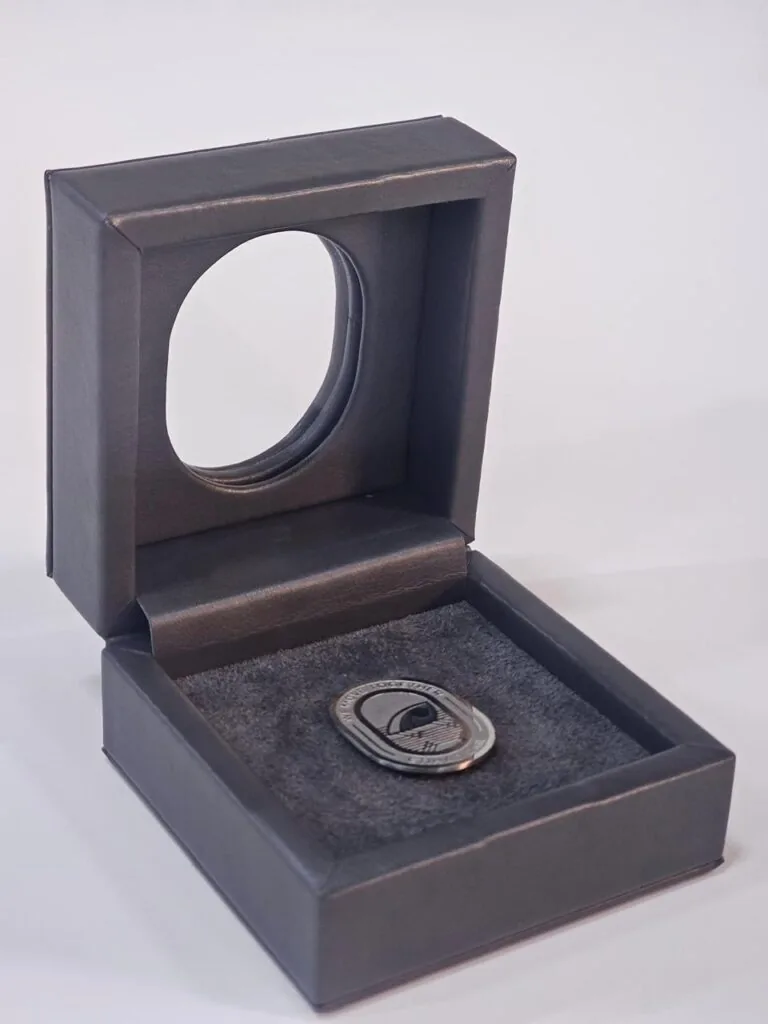

A welcome kit is judged in the first two seconds, and very little of that judgement is about the outer carton. What people notice is the arrangement inside: how items sit, how much air surrounds them and what the eye lands on first. Compartment layout is where a kit looks designed or looks simply filled.

A gift box with a divided insert tray, each compartment sized to the item it holds with even spacing between them.
Start with the items, not the tray
The commonest mistake is drawing a tray to match the outer box and then fitting products into whatever space remains. We work the other way round. Every item is measured, weighed and photographed, and the layout is drawn around the tallest, widest and heaviest piece in the kit. The carton follows from the tray, not the reverse. Starting from the outside almost always produces a compromise that nobody wanted.
This is also where the order of reveal is decided. A letter reads best when it is seen first, a notebook sits underneath it, smaller items go to one side. Lifting three pieces to reach the fourth is how a kit stops feeling considered, so the sequence is settled before any die is cut. Depth and spacing follow from that sequence.
Depth, spacing and grip
Depth is set against item thickness so nothing stands proud and catches the lid, and nothing sinks so low that it cannot be lifted out with a fingertip. Walls between compartments are thick enough to hold their shape when a piece is removed and thin enough that the tray does not eat the usable space. Even a millimetre of drift shows once the items are placed. We check the tray with the real objects, not with measurements taken from a product list.
- Finger gaps beside each compartment, so a hand can lift an item instead of prying it out.
- Even spacing, which reads as deliberate even when the contents differ in size.
- Weight low and central, so the kit stays stable when it is carried and when the lid is lifted.
- One flexible slot, for the item that arrives late or varies between deliveries.
Grip is the quiet detail. An insert that holds an item too tightly frustrates the person unpacking it, and one that holds too loosely lets contents shift in transit. Both are solved by testing with the real objects, then adjusting the cut before the tray is tooled. It is the part of the layout people feel rather than see.
Materials inside the tray
The same item looks different depending on what surrounds it. Flocked paper gives a formal read and suits metal or glass. Kraft-toned board feels more practical and pairs with softer goods. A microfibre sleeve around a device protects a finish that would otherwise scuff against a cardboard wall on the first delivery. We choose the interior surface after the layout is settled, because material adds thickness and can move a compartment by a couple of millimetres.
Why the layout outlasts the box
Outer cartons get replaced when a brand refreshes; good compartments get copied. When a layout works, items pack faster, fewer pieces arrive displaced and the kit is reused rather than emptied into a drawer and forgotten. That reuse is the return on the planning, and it is hard to notice from a drawing alone. It shows up later, in how the kit is actually kept.
We confirm the layout with a filled sample before bulk production, so the arrangement approved on paper is the arrangement that arrives. Any change requested afterwards goes back through the sample first. The outer box may be replaced in a year; the compartment logic behind it should not need to be. Keeping the tray drawing current is part of the job.
The Bottom Line
Confirm every choice on a physical sample before the run starts. Tell us what you are packing, how many you need and when you need it, and our team will come back with structure options, materials and pricing within a business day.