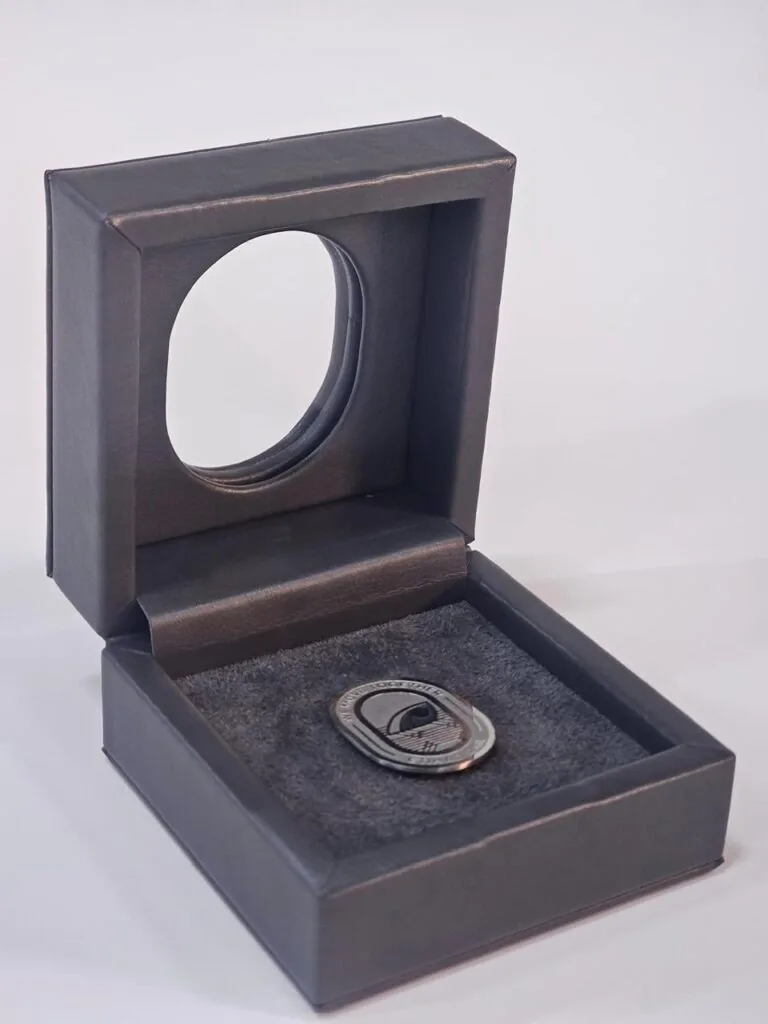

A buyer forms an opinion of a box in the first second of handling, and most of that opinion comes from the surface. Rough board edges, a visible seam or a patchy seal register before the print is even read. We sand and seal before wrapping because perceived quality is built in the preparation, not in the decoration that goes on afterwards.

A gift box with a smooth sealed surface, finished and ready for foil stamping.
Why the surface reads as quality
The eye reads continuity. When an edge is smooth and the corner closes cleanly, the box looks like a single object. When the board edge shows grain, or a joint sits slightly proud under the wrap, it reads as two materials stacked together, and the impression drops even though nothing structural is actually wrong.
Touch performs the same assessment faster than sight. Fingers find a ridge at a corner, a rough patch where the board was cut, or a dusty face that the wrap did not key to. Buyers who handle a lot of product are practised at this kind of inspection, and they rarely mention what they found.
What sanding and sealing involve
Sanding levels the joints and knocks back any burr left by the cutter, so edges and corners sit flat before the wrap goes on. Sealing closes the face of the board so adhesive spreads evenly instead of soaking in. On greyboard, that is the difference between a wrap that keys to the surface and one that sits on top of it and lets go later.
Timing matters too. Sanding and sealing both happen before the wrap, and the seal has to be dry before the paper goes down. Otherwise the adhesive sits on a damp face and the wrap can blister weeks later. We build that drying time into the schedule rather than treating it as an afterthought at the bench.
- Edges sanded flush so no joint prints through the wrap.
- Cut faces sealed to stop dust and fibre lifting the adhesive.
- Corners checked by hand before any paper goes on.
- Surface wiped and inspected under a lamp before finishing.
Both steps are quick compared with the finishing that follows, and both are cheap to get right. Skipping them is only tempting because the damage shows later, on the finished box, when there is nothing left to do but unpack the run and sort it.
How this affects the finish
Lamination and foil both punish a poor surface. A trapped fibre shows as a bump under the film and catches the light every time the box is turned. Foil stamping on an unsealed face can pick up dust and break along the edge of a character. A level, sealed surface gives both finishes something consistent to adhere to.
Spot UV is the most revealing of the three. It covers a large area and gloss exaggerates every imperfection underneath. Where the surface has been levelled first, the contrast between matte lamination and gloss reads as deliberate; where it has not, the gloss simply highlights what was left behind.
Where we check the work
Each piece is inspected before it leaves the bench, and we look at the box under a lamp from a low angle, because that is how a defect shows itself. Corners are handled, the lid is lifted and closed, the surface is wiped. Anything that catches a fingernail goes back for another pass instead of into the carton.
This is deliberate work, and it is the same work whether the order is a handful of pieces or a full gifting programme. A box that feels finished in the hand does not need anyone standing beside it to explain why it was worth the money.
The Bottom Line
Confirm every choice on a physical sample before the run starts. Tell us what you are packing, how many you need and when you need it, and our team will come back with structure options, materials and pricing within a business day.