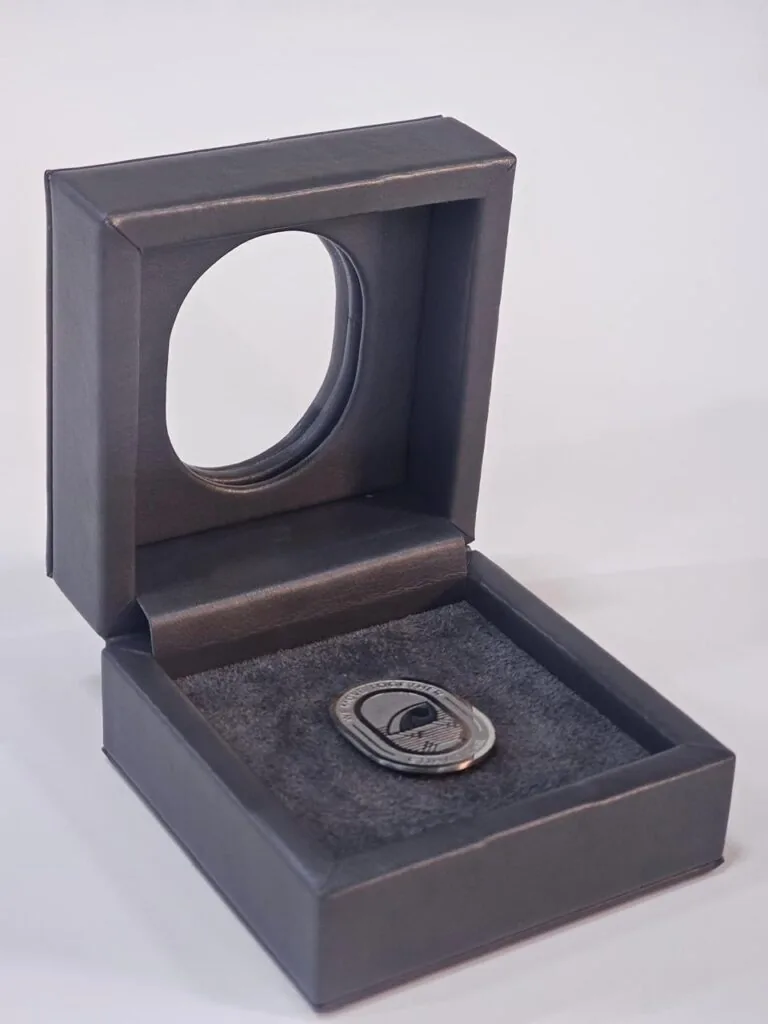

Specifying a welcome kit around a changing gift list means building flexibility into the layout before the first item is chosen. Fix the outside, give the inside room to move, and a new gift item becomes a tray change instead of a redesign.
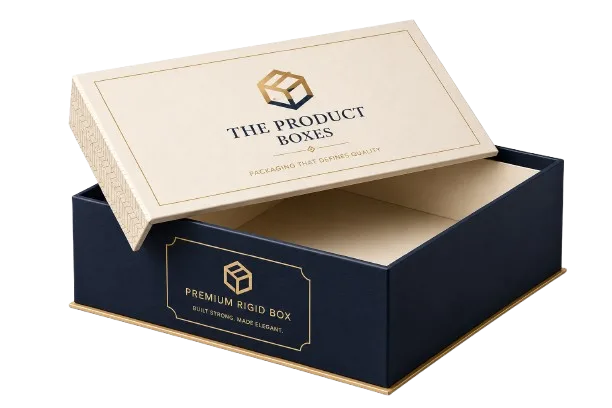
Welcome kit box with a modular insert, sized for items that change between onboarding runs.
Fix the outside, free the inside
The outer structure should be the stable part of the specification. Once the dieline, board and closure are set, the kit can be reordered without new tooling, and the brand looks the same whether it ships in January or June. Everything that varies should sit behind the lid.
That means deciding an interior depth with headroom rather than a snug fit for today's tallest item. A tray with a little space above the contents tolerates a swap in the gift list; a tray cut exactly to one item does not, and the next run needs a new drawing and a new sample.
The same applies to the closure. A magnetic closure or a ribbon set once at specification stage survives a change of contents, while a closure chosen later to fit a particular item usually forces the insert to move as well.
Insert options that tolerate change
- A folded card cradle with open sides, which accepts items of different widths without a re-cut.
- A moulded tray with interchangeable wells, where only the top tool changes between runs.
- Compartments divided by card slips that can be repositioned along a slot line.
- A wrapped base with a printed band that holds loose items in place until the lid comes off.
- A separate slim box inside the kit for anything unusually shaped, which keeps the main layout untouched.
We ask buyers to write down the smallest and largest item the kit has held, and the tallest one it is likely to hold. Three numbers on the specification prevent most of the surprises that arrive with a revised gift list.
Where an item is heavy, check that the compartment carries it rather than resting it on the base. A bottle standing in a shallow well will lean, and a leaning bottle marks the printed wall beside it the moment the box is moved.
Tolerances worth writing down
Personalisation sits in this category as well. If a name card or a printed tag is part of the kit, give it a fixed pocket size and let the content change inside it. A pocket sized to one card width becomes a problem the moment a wider card is added, and reworking a tray mid-run costs far more than leaving a little tolerance at the start.
The same applies to bottles, cables and notebooks: agree the maximum footprint each compartment must accept, not the footprint of the item ordered this quarter.
A short written brief keeps everyone aligned as well: outer dimensions, interior depth, the largest item the tray must accept, and the personalised element if there is one. Suppliers can quote against that without a round of questions, and a new item can be checked against it in minutes.
Changing the list without changing the box
When a client adds an item, we check it against the written tolerances first, then place it in the layout on paper. If it fits the existing tray, nothing else moves. If it does not, the change is limited to the insert drawing, the outer box and closure stay as they are, and a fresh sample is approved before bulk production.
That habit is what keeps a welcome kit running for years. Specifying it properly the first time is cheaper than redesigning the whole build every time the gift list changes.
The Bottom Line
Confirm every choice on a physical sample before the run starts. Tell us what you are packing, how many you need and when you need it, and our team will come back with structure options, materials and pricing within a business day.