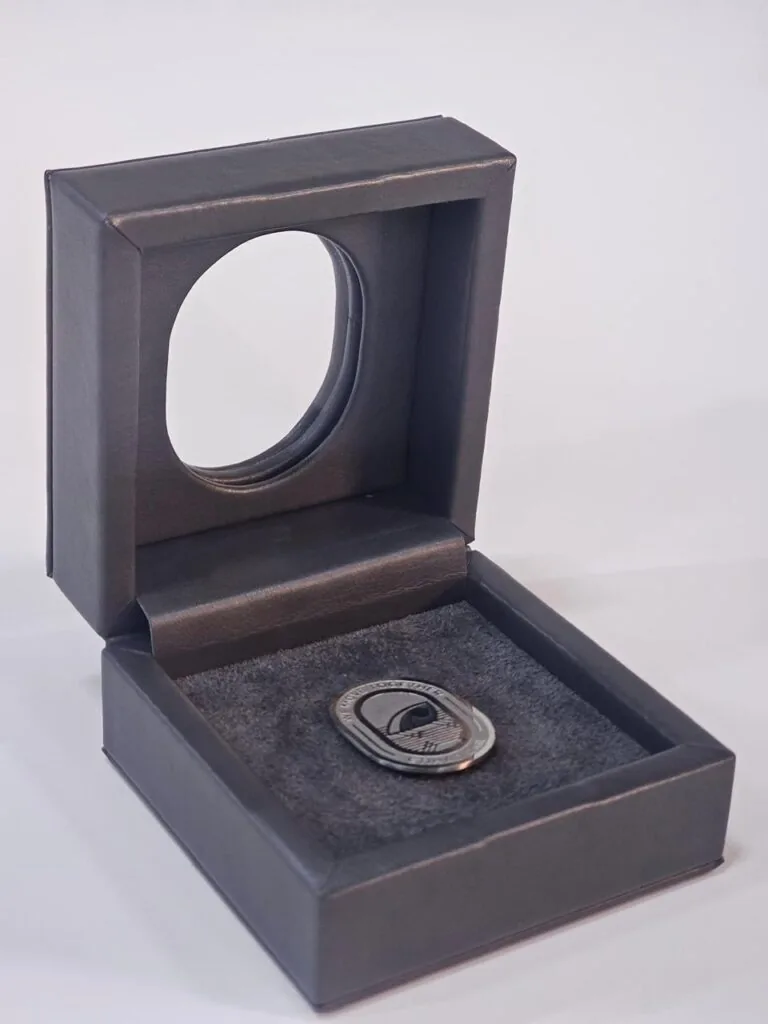

When buyers ask what rigid box manufacturing involves, they often picture the finished box, but most of the work happens long before assembly. We work through a chain of decisions, each one locking in either precision or rework. The aim is a box that closes squarely, holds its shape and carries the planned finish without added waste.

Skilled hands checking a rigid box during the final assembly stage for alignment and clean edges.
Starting with the board and the dieline
Every job begins with greyboard of the correct GSM to suit the intended weight of the contents. For a lid-and-base, we need enough stiffness to avoid bowing in transit, but not so much bulk that the wrap becomes hard to form. We always start from a signed dieline, not a visual render. The die-cut must match the scoring allowances for the chosen board, or the folds will spring open or crack. On large runs we use offset for colour stability, and for smaller runs or variable sizes we may use digital, but neither can fix an inaccurate dieline. Getting this right removes most fitting issues at the wrapping stage.
Once the board is cut and scored, the waste strips are removed and the blanks are counted before wrapping. At this point we can still spot subtle shifts, so we check a few samples against a master. Any change to grain direction or scoring depth can alter the final footprint by a fraction of a millimetre, and for a snug insert tray that is enough to cause misalignment. We also consider ventilation when contents are sensitive to trapped air, as the board structure must not restrict a planned air gap.
Wrapping, forming and structural joins
The wrap is where a plain blank becomes the finished shell. We match the wrap grain to the board to limit tension, particularly on deep walls and tight radii. For high-contrast finishes, dot gain must be accounted for before print approval, as colours shift slightly when ink soaks into uncoated paper before lamination. Depending on the brief, we may apply soft-touch lamination, spot UV or foil stamping, and for textured covers we can use flock or velvet wraps. Each of these changes how the paper stretches over a corner, so we test wrapped corners rather than flat swatches.
After wrapping, the shells are formed and joined. For lid-and-base and drawer box styles, the flaps are tucked to hold the profile. A book-style hinge needs a firm crease to take repeated opening without tearing. We keep the adhesive coverage controlled to avoid either failure or bleed through a thin wrap. At this stage, the magnetic closure or ribbon pull is fitted with care to avoid distorting the walls.
Inserts, fittings and quality checks
The internal fit is just as important as the outer shell. An insert tray must hold each item in its planned position without pressure points. For jewellery, a ring box insert needs precise slot width and depth so the ring sits upright without rattling. We cut the tray from the same logic as the outer dieline, allowing for the wrapped thickness of the walls. Where items vary slightly, we can adjust partitions, but we never over-compress soft contents. Samples are approved before bulk production, so the buyer can test the closure and removal in hand rather than on a screen.
Before packing, we carry out a set of checks on every batch. We look for square closure, even wrap tension, clean die-cut edges and correct colour against an approved proof. We confirm the count, check any printed batch marks are correct and ensure the finish is free of scuffs. The job is only complete when the batch matches the agreed specification. These checks are routine, but they are the point at which quality is decided.
Final review and practical advice
We often advise buyers to focus on tolerances, not just appearance. A small shift in the insert can spoil the fit. If a colour is critical, we ask for approval on a wrapped corner of the actual board and stock, not a flat swatch. If the box will be opened many times, we factor in hinge fatigue from the start. These decisions, in rigid box manufacturing, decide whether the first run can be repeated without drift.
- Keep the dieline fixed before cutting the die to avoid changes to every part.
- Approve a physical sample with the actual contents before moving to bulk.
- Check colour on a wrapped corner, not just a flat swatch, to catch dot gain.
Our aim is a repeatable build that holds for future reorders.
The Bottom Line
Confirm every choice on a physical sample before the run starts. Tell us what you are packing, how many you need and when you need it, and our team will come back with structure options, materials and pricing within a business day.